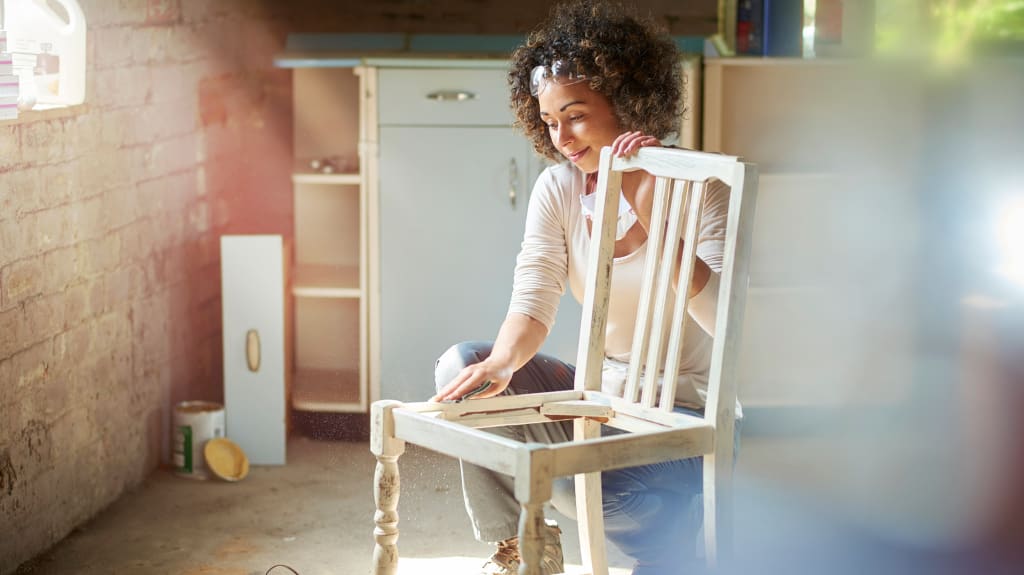
Upcycling is an innovative way to reduce waste, save money, and upgrade your home. With a little elbow grease and a coat of paint, you can transform old furniture into something new and beautiful. Find out how to repurpose objects in your house with these fun projects.
What is upcycling?

Upcycling is the environmentally friendly act of repurposing an item to give it new life. For example, you can take a plastic bottle and turn it into a bird feeder, or you can cut old clothes into squares and sew the pieces together to make a quilt. As one of this year’s home trends, upcycling involves transforming an unwanted item (or something no longer in use) into a new object that has more value and a different function.
Although the terms are sometimes used interchangeably, upcycling and recycling are not the same. Recycling takes glass, plastic, paper, and metal and breaks them down into raw materials to be made into new products. For example, at a recycling centre, glass bottles are crushed and made into new glass bottles, and soda cans are broken down into aluminium.
The benefits of upcycling
The more we buy and consume, the more we produce. This leads to more consumption and possessions being thrown out. However, upcycling extends an object’s lifespan, reducing the amount of waste sent to landfills each year. It also reduces carbon dioxide emissions, air and water pollution, and greenhouse gases.
Another benefit of upcycling is that it saves money. Instead of buying new pots for your succulent collection, you can use old cans, plastic bottles, or glass jars. Need a new TV stand? Why not refurbish the dresser your neighbour left out for garbage collection?
Depending on the upcycling project, you may need to buy certain materials like paintbrushes or sanders. However, after this initial investment, you’ll be ready to revamp a host of items for your home.
5 creative upcycling ideas
1. Spruce up your kitchen cabinets

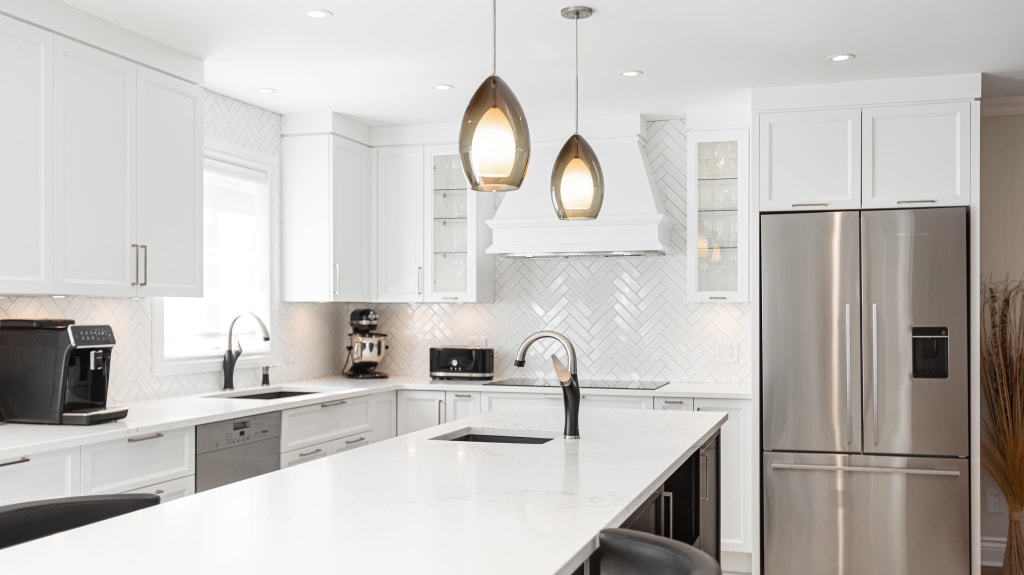
Do you feel like your kitchen needs an update? Upcycling the cabinets will make the space feel new and fresh while saving money and reducing waste. Begin by removing all doors, drawers, and handles with a screwdriver. Clean all surfaces thoroughly and check for damage. If there are holes or cracks present, apply some wood filler and allow to dry.
Wearing safety goggles and a mask, lightly sand the sides that will be painted. Wipe the cabinets again to ensure there’s no dust after sanding, then carefully stick painter’s tape on walls and other surfaces that should not be painted. It’s a good idea to cover the floor where you’re working with a plastic drop sheet for drips and spills.
Starting with a brush (so you can get into awkward corners or hard-to-reach places), apply two coats of primer. Then use a roller to ensure even coverage on all sides of the cabinets and drawers. Do the same with your paint colour of choice, allowing the first layer to dry fully before applying a second coat.
Once the paint is completely dry, remove the tape and either replace the old handles or measure and drill holes so you can mount new ones. Refit the doors and drawers, and voilà—you have a brand-new kitchen!
EspaceProprio Tip If you’d like to do a complete kitchen remodel, RenoAssistance can put you in touch with a dedicated Renovation Advisor and up to three Verified Contractors. Call 1-888-937-9986 to speak with a Renovation Advisor now.
2. Transform your light switch covers
If you’re looking to inject some colour and personality into your home, look no further than your light switches! Simply swapping or upcycling the covers can instantly change the aesthetic of a room.
There are several ways to do this, including using thrifted photo frames or painting a unique design. Another option is using excess fabric scraps or wallpaper. Simply apply your chosen design and paint over it with Mod Podge—the result is an easy and budget-friendly room revamp!
3. Reupholster the dining room chairs

Change the appearance of your dining room by replacing the fabric on the chairs with a stylish new design. Not into florals anymore? Why not opt for Aegean stripes or a mid-century modern print?
It’s surprisingly simple! Remove the original material, foam, and staples, then trace and cut a new piece of fabric, foam, and padding using the seat as a template. Place the foam and padding on top of the seat, tucking the padding over the foam and attaching it to the wood using a staple gun (you’ll need to pull it taut as you go).
Trim any excess fabric along the edge of the staples and then attach the new fabric in the same way. Take care to finish the corners neatly. You may also choose to add a piece of dust cover which will conceal and protect the bottom of the seat.
4. Turn a wooden ladder into a towel rail
Leaning against the bathroom wall, a rustic wooden ladder destined for the garbage disposal can become a stylish new towel rail. It requires little time and money and will provide far more storage space than a regular towel rail.
Depending on your personal style, you could sand and stain the ladder for a more natural look or paint it to inject a delightful pop of colour. Look for inspiration online, in magazines, and in local home décor stores.
5. Convert wooden planks into a neat storage solution

If you have wood offcuts that you’re not sure what to do with, turn them into shelves! It’s a great way to make use of awkward spaces in bathrooms or to simply add extra storage in the kitchen or lounge. Styled with beautiful crockery, books, or treasured souvenirs, it will elevate any room.
Decide where you’ll need the shelves, then measure and cut your pieces to size. Sand and finish the wood by staining or painting it in a colour of your choice. For floating shelves, you’ll need to attach brackets to the wall so you can slide the wood into place, but you can also opt for a standard shelf with supports.
Love our ideas but need a little help to make them happen? Visit the Useful tips section of our site.


