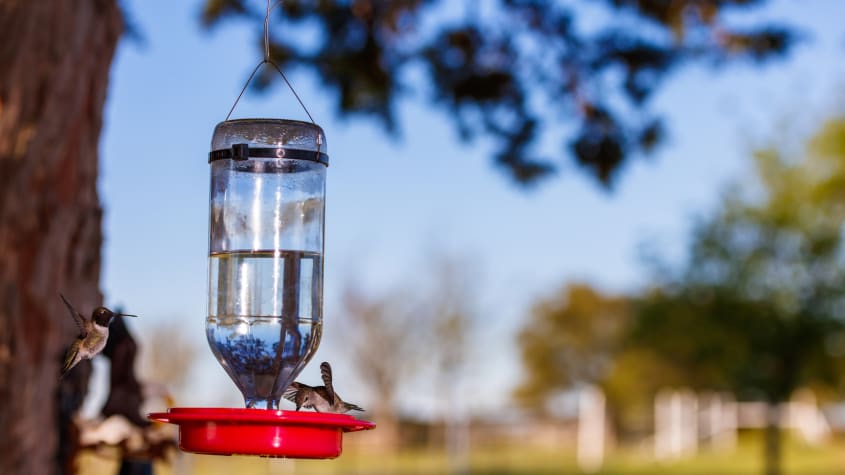
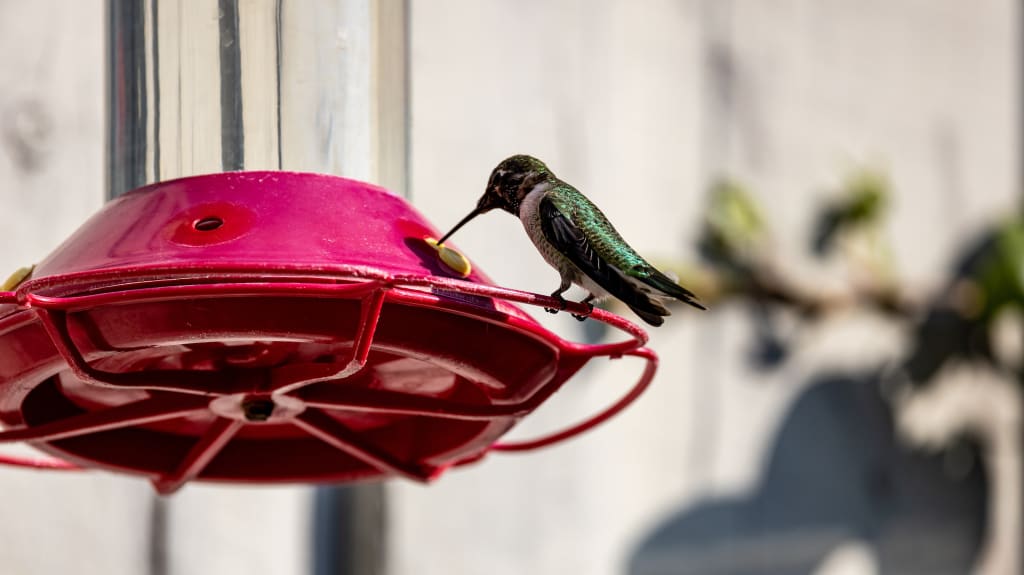
Are you looking for something new to do with your kids during the summer break? Break out your toolbox and make your very own hummingbird feeder! This is a fun little DIY project that will also brighten up your outdoor space. Keep reading to learn more!
4 reasons why you should make a hummingbird feeder

Making a hummingbird feeder is something you and your kids can have fun doing on a sunny summer day. And on top of that, there are benefits to doing it yourself:
It's environmentally friendly
Reusing materials like plastic water bottles helps reduce the waste you produce.
2. It's educational
Completing this DIY project with your kids gives you the chance to discuss fun facts about bird species like the gorgeous ruby-throated hummingbird.
3. It's economical
You probably already have all the materials you need at home, so you don't need to buy anything.
4. It's customizable
You decide what size, colour and shape you want. It will be a pretty addition to your garden, balcony, or on the patio.
What do you need?
There are many ways to make your own hummingbird feeder, but here are the materials and tools we suggest:
Materials
Plastic water bottle
Metal wire or nylon fishing line
Beads or other decorative materials
Plastic container with lid—a margarine container would be a good size
Hot glue
Hummingbird nectar
Tools
Utility knife
Drill or awl
Pliers
Glue gun
Small brush
What do you need to do?

Get the bottle ready
Gather the materials and tools you need to make the feeder.
Clean the plastic bottle with soap and water and then let it dry.
Use the drill or awl to punch a hole at the widest point of the base of the bottle. Do this on both sides.
Thread the wire or fishing line through the two holes and then tie a knot. You can use this to hang the feeder from a tree branch or other support. Instead of punching holes, you could also simply wrap the wire around the bottle and make a hook or loop out of it using the pliers.
Let your imagination run wild and decorate the bottle with the beads or other decorative materials you've chosen.
Use the drill or awl to punch a hole in the bottle cap. This hole will allow liquid to drip into the reservoir.
Make the base
Take out your plastic container with lid. This will be the feeder's reservoir. It will also give the hummingbirds a place to stand while they feed.
Use your utility knife to cut a hole in the centre of the lid. The hole has to be just big enough for the bottle's neck to go through but small enough that the bottlecap won't.
Insert the bottle's neck into this hole. Glue it into place and screw on the bottle cap to make sure everything is secure. The plastic bottle and lid are now connected.
Use the drill to add a few small holes to the lid. The birds will insert their beaks into these when they feed.
Put the lid back on the container. Your hummingbird feeder is all done!
Make the nectar
Make the hummingbird nectar following the instructions at the end of this article.
Remove the reservoir lid, then unscrew the bottlecap. This will allow you to fill the bottle with nectar. If you've punched holes in the bottle's base; hold it flat on its side as you fill it. Both holes should be as high up as possible so the nectar doesn't flow out. Stop once the bottle's one-third full.
Replace the bottle cap and put the lid back on the reservoir. You'll see the nectar flow into the reservoir.
Install and clean your feeder
Hang your feeder in an appropriate spot where hummingbirds can see it.
Rinse out the bottle every 3 days maximum. Empty out any remaining hummingbird nectar and use a small brush to clean the feeder.
Refill it as many times as you need.
How to make hummingbird nectar

Your feeder is ready for action! This is the time of year when you can attract the first hummingbirds to your home, so make sure to offer them fresh nectar. You can make it yourself by heating sugar and water in a pot.
EspaceProprio tip: Use a 4:1 ratio for your nectar. That's 4 parts boiled water to 1 part white sugar. Heat it until the sugar dissolves; then let the mixture cool to room temperature before you add it to your feeder.
Hummingbirds are also attracted by flowers that produce a lot of nectar, so plant them in your garden or outdoor space. Lupins, sage, impatiens, fuschias, begonias and petunias are all great choices.
Are you already looking for something else to do with your kids? How about making your very own bird bath? After all, it's summer and everyone wants to swim!
Join our Instagram community @espaceproprio for more informative and entertaining content.


